رد مع اقتباس

HDR Photography Tutorial
By
Biboo
Sunrise, Manly, NSW, Australia by Jeff Turner
Lately, there has been a spur in interest to make HDR images. Everywhere we look, Flickr, blogs and other social media channels, we see photographers posting the result of their experiments with this technique. It encourages us to create a few of ours. But how do we go about doing it? What is HDR Photography actually?
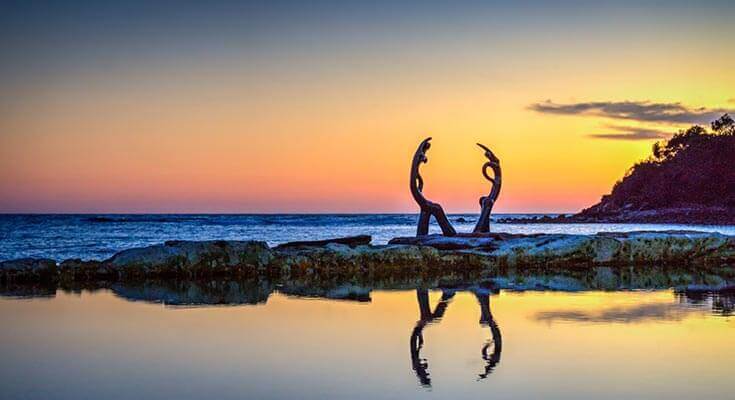
Korean Bell Garden – Winter Blue HDR by
Nicolas Raymond
HDR stands for High Dynamic Range
. HDR Photography is a composite of two or more images of the same scene that are shot at different exposures and then combined together in order to create one perfectly exposed image. HDR imaging technique is primarily dependent on post-processing tools because it is very difficult to get everything perfectly exposed in one single image.
Just like anything else in photography, there are more than one ways to create HDR images. You could simply shoot one image in RAW and then adjust it to create an HDR image as well as make several images of the same scene and then combine everything together.
PA040032_3_4HDR.jpg by Bailiwick
Basic tools you need to create an HDR image:
• Camera
• Lens
• Tripod (optional if you choose to shoot more than one images)
• Photo editing program like Adobe Photoshop or Lightroom
• A dedicated HDR program like Photomatix Pro will help you to achieve results better and faster
Shooting one single image and then creating different components out of it allows you to counter a lot of issues like image blur and compositional differences. In this tutorial we are going to learn how to create a HDR image with only one RAW frame.
Making the image is very easy. Just follow normal approach and capture the frame(s) that you wish to convert to RAW. Take care to shoot them all in RAW because this is a loss less compression allowing you to tweak everything in Photoshop.
Sunrise at Haskell Canyon by Jeff Turne
r
Post-processing: Basic corrections
The first thing that you need (after the image is shot) is to open them in Camera RAW. When you open an image in Adobe Photoshop Camera Raw automatically takes over. This neat little program allows you to tweak some basic issues such as white balance adjustment, lens profile correction, clarity and exposure.
Creating the component images
Once this is done you will need to create the separate images that will be used as component for the main HDR image. If you have shot separate images with exposure compensation dialed in you can skip this step.
Iconography by Theodore C
Here we adjust the exposure compensation and create several images. Name them so that you can easily identify which is which. I prefer to use a naming convention like image_name_ev_XX. Here ‘XX’ is the amount of exposure compensation used for each component image in Adobe RAW. If you use advanced HDR software such as Photomatix Pro you will need the images to be named like this.
Blending the images together
Open Photomatix Pro and blend the images together. This is the easy bit. Load the images on to Photomatix Pro. This is an advanced software and will automatically detect how much compensation has been used. But it still is beneficial to let it know exactly how much exposure compensation values has been dialed in. Once the images are blended together you will have what is a preliminary HDR file. This will be good enough for you to understand how vastly different the original and this new composite images are.
A pro would not stop here and this is where advanced plugins like Nik Software’s HDR Efex Pro comes into the picture. There is also another excellent plugin, Topaz Adjust, but if you can master HDR Efex Pro you wouldn’t need it except for giving your images some really out of this world effects.
Both these work as plugins for Adobe Photoshop and all you need to do is work your way around these to give the image the right effect. Please note, there are plenty of examples of HDR image attempts going bad with photographers going overboard with their editing. Whatever you do try and keep sanity to everything so that the final result looks natural. Happy clicking!